The BlueStacks app player is one of the most popular Android emulators for PC users. It enables you to run mobile apps and games directly on Windows. Developers, marketers, and gamers have used this versatile tool for over a decade to bridge mobile and desktop environments.
But sometimes you need a bit more than just emulation. Using a proxy server with this setup provides control over how traffic is handled. Whether you want to test apps from different regions, access geo-blocked content, or simply boost your privacy, configuring and using proxies is the way to go.
In this guide, we’ll explain how to configure BlueStacks with a proxy server step by step. We’ll go over recommended methods and troubleshooting, so you’ll know how to handle proxy configuration on any modern version of BlueStacks.
Does BlueStacks support proxies natively?
Simply put - no. As of today, BlueStacks 5 does not offer native proxy settings. Older versions did have limited support for proxies, but those are outdated. If you’re using the latest version on your Windows PC, you will need to set up a proxy server manually.
There are two main ways to handle this:
- ADB commands (recommended). This approach applies your SOCKS or HTTP proxy server configuration across all traffic.
- Proxifier or ProxyCap. With third-party routing tools, you have more control over app-specific connections.
Method 1: Set proxy using ADB commands (recommended for BlueStacks 5+)
This option works best for BlueStacks 5 and later versions. It applies your proxy settings across all emulator traffic, so you don’t need to use any additional software.
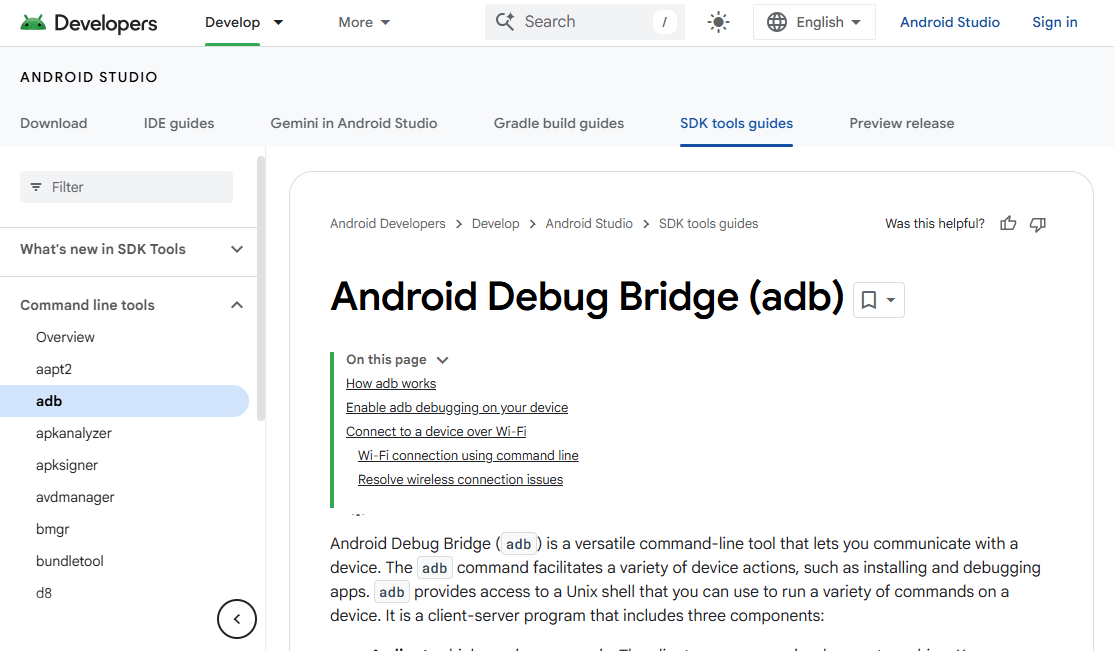
- Install ADB tools on your Windows PC from the official website and launch BlueStacks.
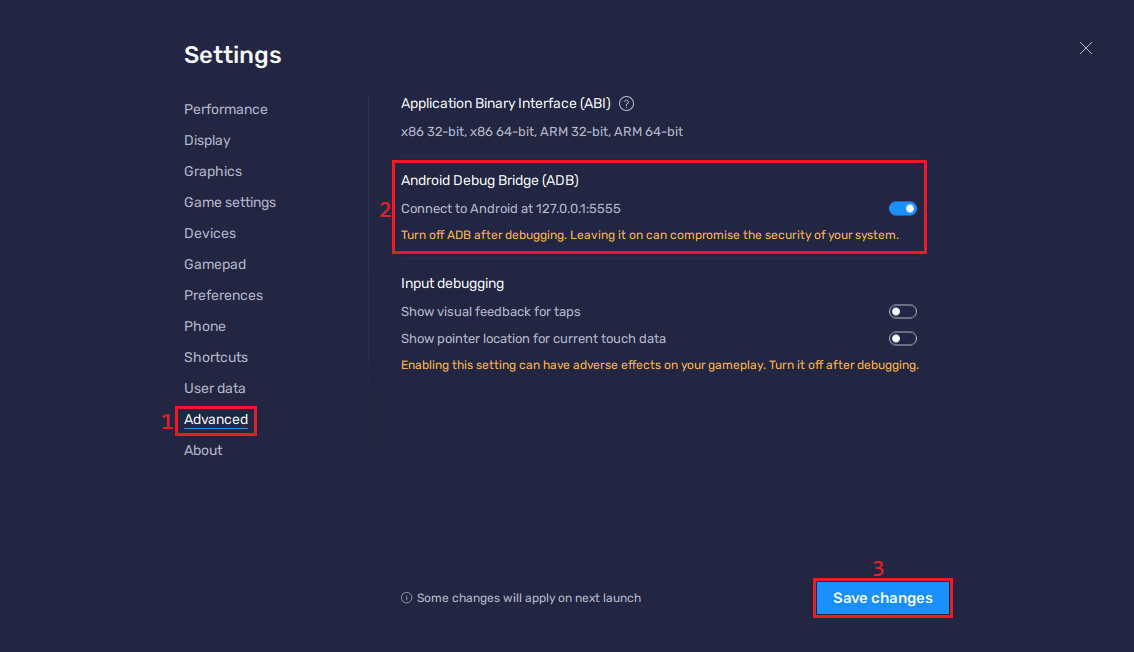
2. Open ‘Settings’. Select ‘Advanced’ (1) from the menu, and enable ‘Android debug bridge’ (2). Click the ‘Save changes’ (3) button.
3. Open Command prompt and navigate to the folder where ADB tools are.
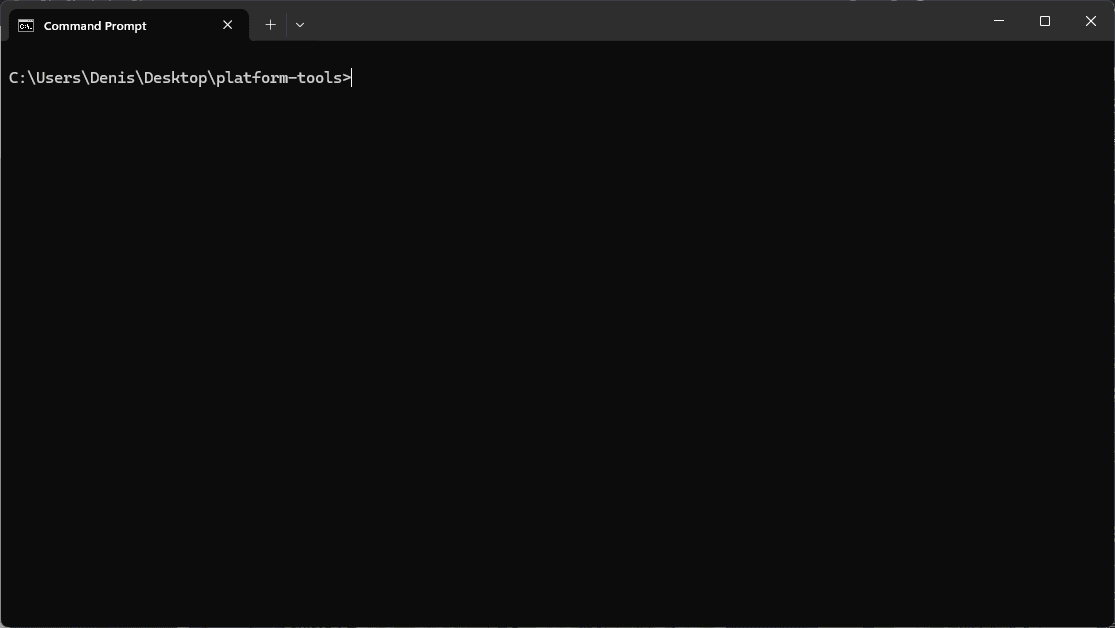
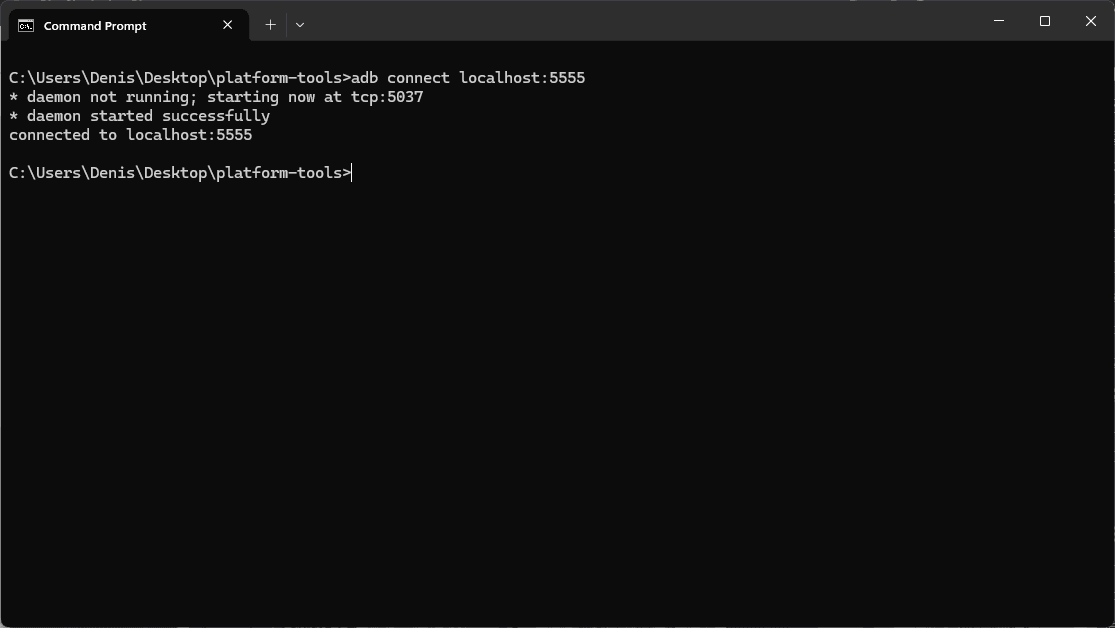
4. Connect to the emulator by using this command in the Terminal:
adb connect localhost:5555
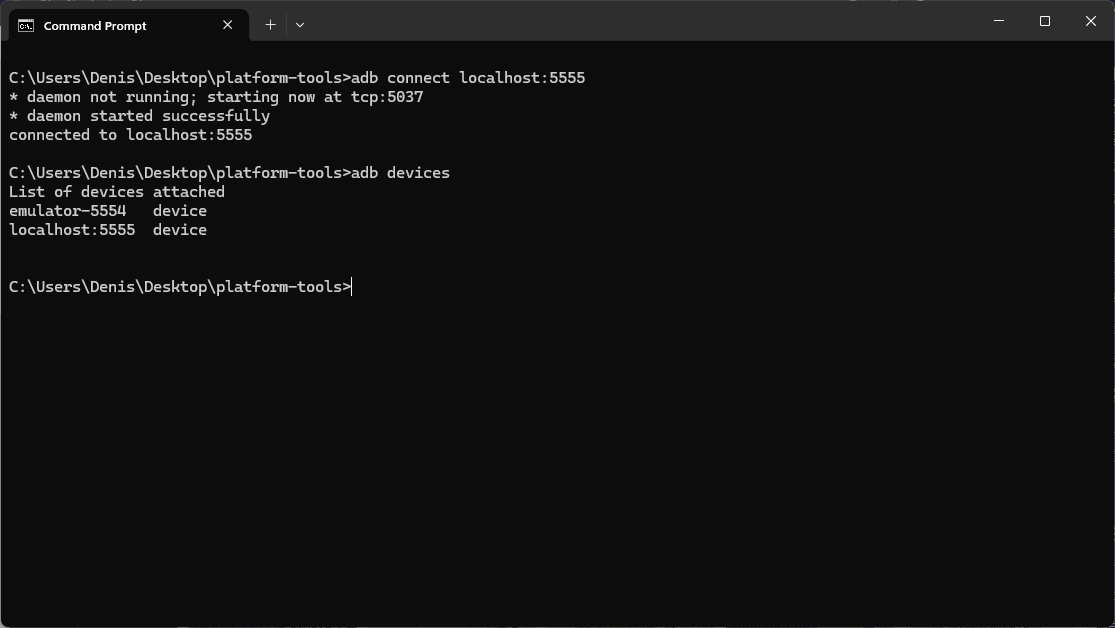
5. Verify the connection by typing:
adb devices
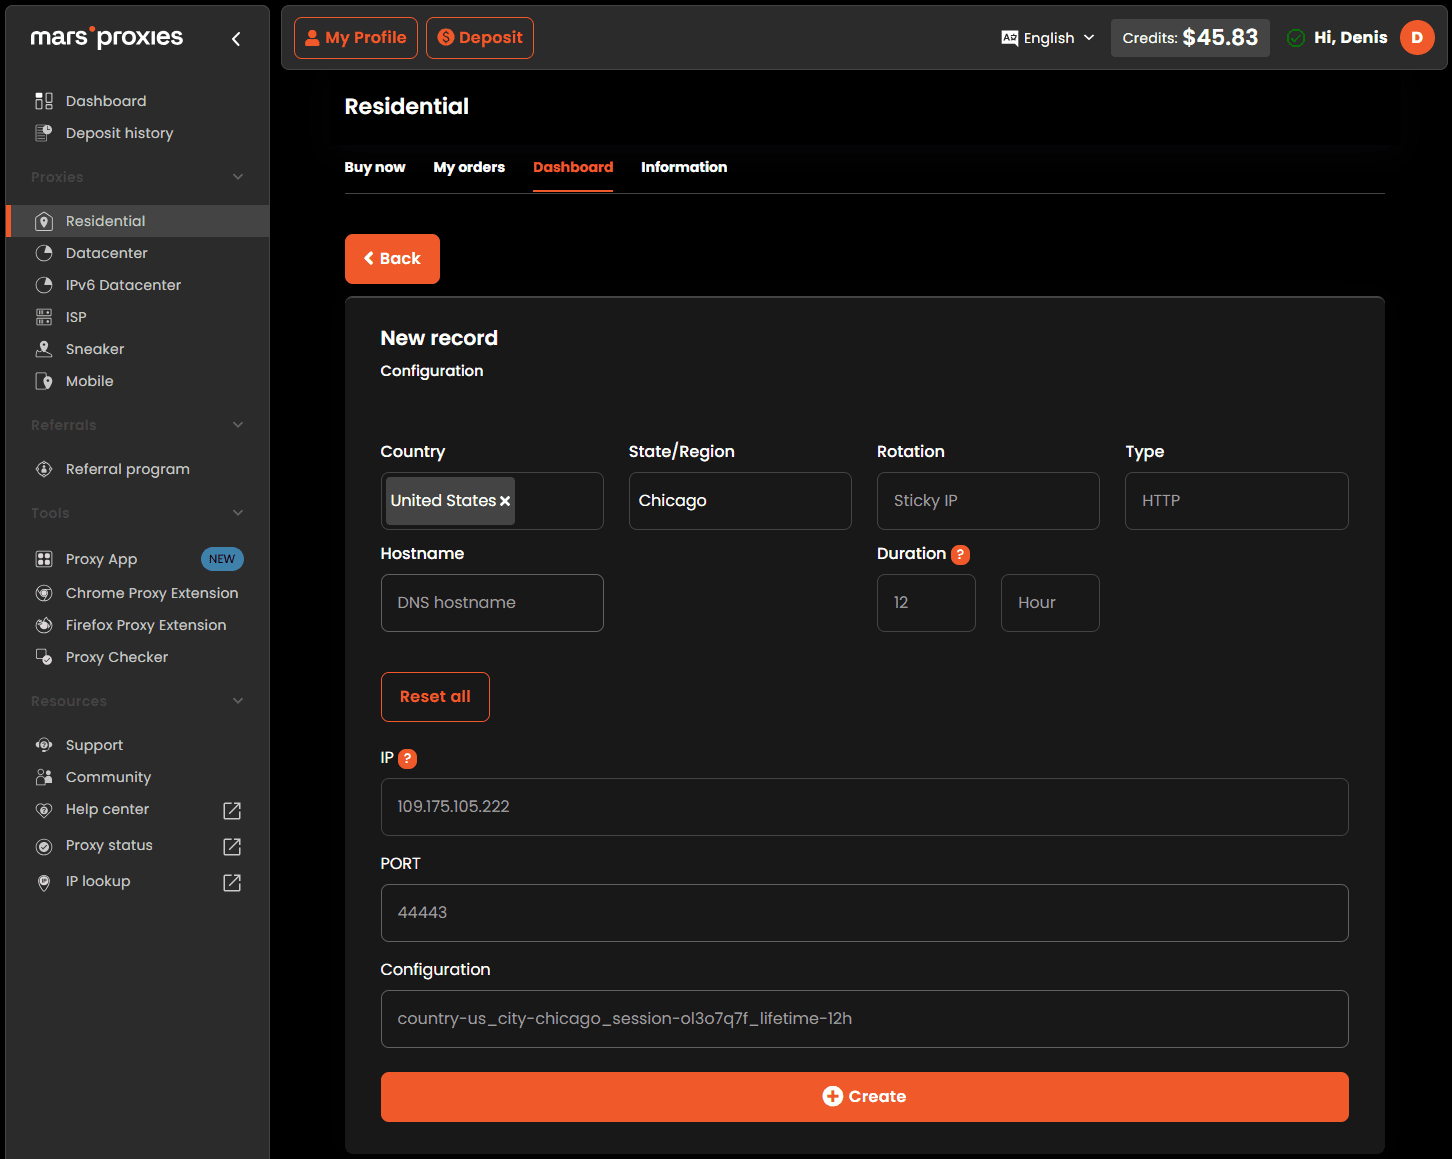
6. Now, visit the MarsProxies dashboard, configure your proxy server, and whitelist your IP address.
7. Enter the following command to set your HTTP proxy:
adb -s localhost:5555 shell settings put global http_proxy ultra.marsproxies.com:44443
8. You can check if your proxy is set correctly using this command:
adb -s localhost:5555 shell settings get global http_proxy

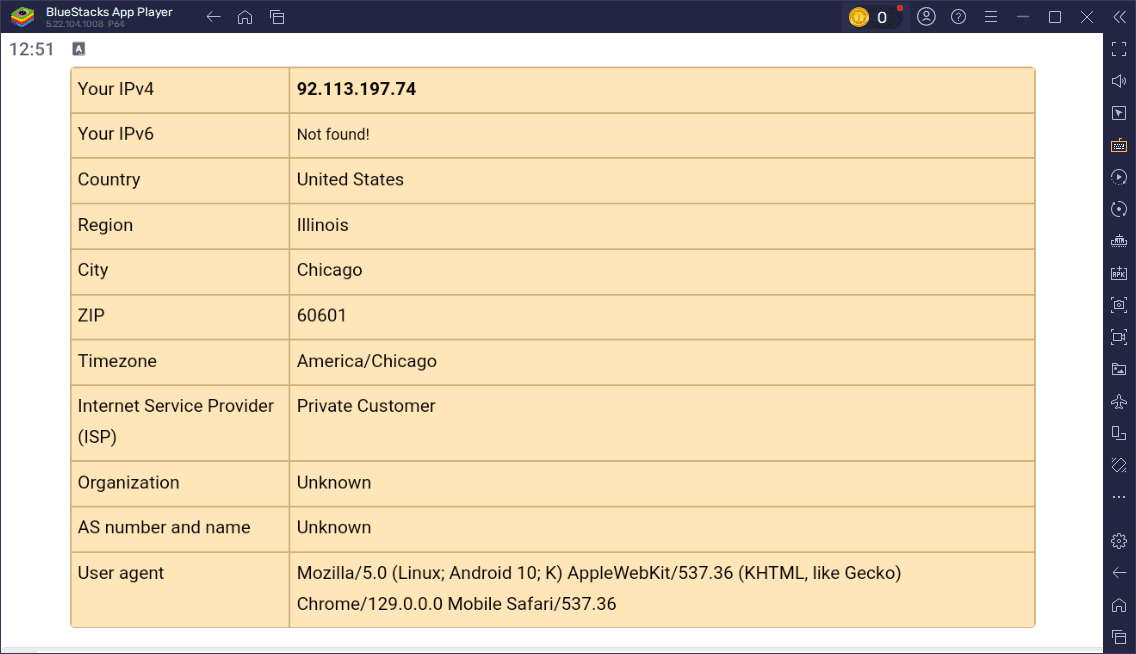
9. Restart BlueStacks to apply these changes and visit ShowMyIP or a similar website to verify your proxy is active.
Method 2: Use Proxifier or ProxyCap (alternative approach)
If the method above doesn’t work, tools like Proxifier or ProxyCap work great as an alternative. This approach is also useful if you want to test different proxy types with the emulator.
- Install Proxifier on your Windows PC.
2. Visit the MarsProxies dashboard, configure your proxy server, and whitelist your IP address.
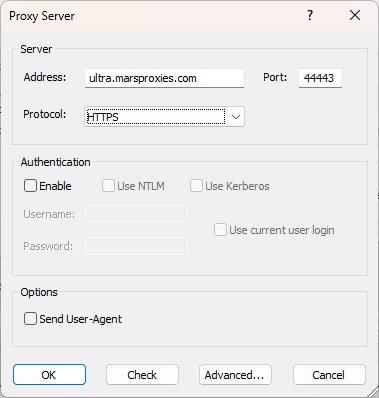
3. Launch Proxifier and add your proxy server by entering the IP address and port number. Make sure you set the correct proxy type (HTTP, HTTPS, or SOCKS5).
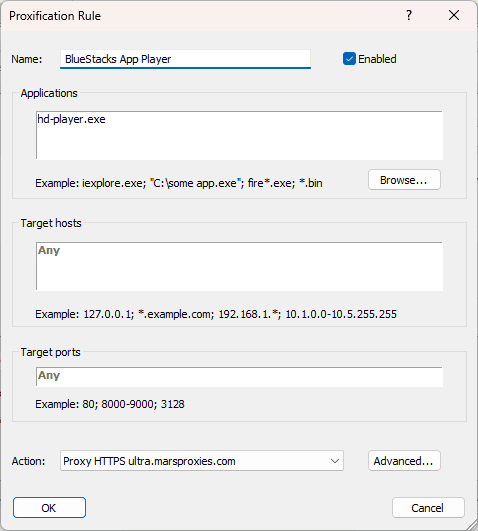
4. Create a custom proxy configuration rule to route BlueStacks traffic through this proxy server.
5. Restart BlueStacks and confirm traffic is being routed correctly.
Unlike ADB tools, this method should work for all versions of BlueStacks app player, since it modifies your Windows PC’s settings and not the player itself. The only downside is that these tools aren’t free.
Troubleshooting & tips
Even if your proxy configuration is flawless, there’s always a chance you’ll run into problems. Here are the most common ones and how to fix them.
- Proxy not working
Updating BlueStacks app player to the latest version is a good starting point. If that doesn’t solve the issue, check your IP address, port number, and proxy server type (HTTP, HTTPS, or SOCKS) if you’re using Proxifier or ProxyCap. Also, make sure you restart both your Windows PC and the emulator after making any changes.
- SSL interception issues
BlueStacks does not fully support HTTPS interception, so make sure you use a SOCKS or HTTP proxy for better compatibility.
To check if your proxy is working correctly, open a browser inside BlueStacks app player and visit IPInfo or any other website that shows your device’s current IP address.
Conclusion
If you’re looking for the simplest and most reliable method to use proxies with BlueStacks 5 and newer, use the ADB command method. It applies your proxy configuration across all emulator traffic without any additional tools.
For custom routing or older versions of BlueStacks, use Proxifier or ProxyCap. While they’re not free, they offer support for different proxy server types and app-level control. You can also set up proxies in Windows. This option is 100% free, but all your apps will use the proxy server.
How can I check if the proxy works in BlueStacks?
Open a browser in the emulator and visit IPInfo or any other website that shows your device’s current IP address. The location and IP address shown on the site should match your proxy server.
Can I set a proxy inside BlueStacks Android settings?
No. Newer versions of BlueStacks don’t have native HTTP proxy configuration support in their settings. You can use third-party tools to configure proxies, as described above.
Is there a way to configure proxies per app inside BlueStacks?
Yes. The only way to apply different proxy configurations to specific Android apps is by installing an app that supports this functionality. The most popular options include Postern, NetGuard, and ProxyDroid.
Can I use a VPN app inside BlueStacks instead of setting a proxy on the host?
Yes. You can install and configure VPN apps inside the emulator. Depending on their features, you’ll be able to configure in-app traffic and system-level connections. Note that this will not impact the traffic made by your host device (Windows PC).
Why doesn’t the proxy apply to all traffic, like APK downloads or Play Store?
Some system-level tasks can bypass the Android proxy configuration. If you want to make sure that all traffic in BlueStacks app player goes through your proxy server, make sure to configure a proxy at the host level.