
What Is a Headless Browser? Benefits, Use Cases & Tools
A headless browser is a browser that runs in the background without showing a visible window. You can use tools like Selenium, Puppeteer, and Playwright to control browsers in headless mode and automate tasks a human would otherwise perform manually.
This article will show you how headless browsers work and explain why they are preferred for certain jobs. You’ll also see how tools like Selenium, Puppeteer, and Playwright control headless browsers.
What is a headless browser?
When most people hear the word “browser,” they picture Chrome, Firefox, Safari, maybe even Brave or Opera. You click a tab, type in a URL, and something appears on screen. That’s the everyday experience.
But it’s not the only way to browse.
There’s another kind of browsing: it's quiet, controlled, and designed for people who want more from the web. You might be scraping product listings, testing how a site renders for users across different regions, or running UI checks in a CI/CD pipeline automatically after every deployment.
For tasks like those, there’s something called a headless browser.
Headless browser vs regular browser
Visual interface
Runs without a visible browser window, loads pages, and runs JavaScript in the background.
Shows a full browser window, tabs, menus, page content, pop-ups and other visual elements.
Speed
Faster for browser automation as it removes the visual interface from the workflow. It still loads resources and processes dynamic content.
Better for manual use, but less practical for automated tasks that need to run repeatedly or in the background.
Resource usage
Better for servers, automated tests, web scraping, performance monitoring, and PDF generation. It’s still heavier than a basic HTTP request.
Uses resources for the full browsing experience, which makes sense when a human is using the browser directly.
Debugging
Harder to inspect directly. You usually need screenshots, logs, traces, or saved HTML to see what happened.
Easier to debug because you can watch the page load, inspect elements, and interact with the site directly.
Best use cases
Good for cross-browser testing, headless testing, web scraping, browser automation, rendering JavaScript, monitoring pages, and generating PDFs.
Better for manual browsing, visual checks, layout review, interactive testing, and debugging failed automation flows.
How a headless browser works
It’s still a full browser under the hood. Same engine, same execution, same ability to request pages and interact with them. But it runs without a graphical user interface. No tabs. No windows. Nothing you see on screen.
Instead, a headless browser works entirely through code. You control it from your terminal or script, often using tools like Puppeteer, Playwright, or Selenium. It opens pages, clicks buttons, runs JavaScript, and you never see it happen.
That’s why headless browsers are so powerful for browser automation. No visual overhead. No extra memory eaten up by rendering tabs - just speed and control.
And despite being “invisible,” a headless browser still does everything a regular browser does. It downloads assets, parses HTML and CSS, runs AJAX requests, and even builds a complete DOM.
The difference? A headless browser doesn’t bother to render anything visually, unless you ask it to, like when you want to capture a screenshot or generate a PDF.
It also makes automation safer and faster. No GUI means fewer system dependencies, making headless browsers perfect for Docker containers, remote environments, or large-scale bot deployments.
Why use headless browsers?
Why someone turns to a headless browser depends on what they're trying to get done. An automation engineer might be chasing speed. A QA tester? Repeatability. An SEO? Insights Googlebot sees but humans don’t.
But no matter who you are, the reason you’re here is simple: you want something that regular browsers just can’t give you. So let’s unpack what that something is.
Faster execution
When you're browsing, you want the full visual experience. But with headless browsers, that’s the first thing to toss. No visual animations or screen rendering. Just code doing its job, silently.
In headless mode, the browser skips the fluff and gets straight to business. Whether you're running Selenium or Puppeteer, your scripts perform faster depending on the page and its level of load.
You can queue up headless browser testing across thousands of URLs or deploy browser automation in the cloud without the GPU and memory demands of a full graphical desktop environment, though resource use still scales with workload and concurrency.
Automation
In headless browser mode, scripts load pages, fill forms, click buttons, and run JavaScript without wasting resources drawing graphics.
This leaner approach makes browser automation faster and also cleaner. Fewer dependencies mean fewer chances for graphical bugs or timing issues.
That’s why automation engineers, cybersecurity specialists, and DevOps teams prefer using a headless browser library when setting up automated tests or deploying bots inside CI/CD pipelines.
Lower resource usage
Ever wondered why browsers feel heavy when you open dozens of tabs? It’s because every page isn’t just sitting there. It’s actively rendering visuals, eating RAM, and chewing up CPU time.
A headless browser skips that overhead.
With headless browsers, scripts load and interact with pages just like a normal browser would, but without the cost of visual rendering. That means less memory consumed, less CPU stress, and fewer GPU cycles wasted.
For web scraping, browser automation, or headless testing, this efficiency is gold. Headless browser tools make it possible to run hundreds of automated tests at once without needing a beefy machine.
Common headless browser use cases
When used in the right context, a headless browser is a far more efficient tool than a regular one. No wasted rendering, no GUI slowing things down. But what does that actually look like in practice? How does that efficiency translate into real-world results?
Automated headless testing
Every time you click a button on a website, there’s a lot happening behind the scenes: APIs firing, JavaScript running, and DOM elements reacting. For developers, it’s not enough to build these functions, they need to test them. And when you’re on a tight release cycle, hiring people to manually test every interaction isn’t scalable.
That’s where automated headless testing comes in. Using headless browser tools like Selenium, Playwright, or Puppeteer, you can script test flows that simulate real user behavior like logging in, submitting forms, clicking nav items, and verifying that everything works as intended.
Since headless browsers don’t need to “see” the interface, they run in headless mode, skipping the rendering and focusing purely on logic. This speeds up automated tests, reduces memory use, and avoids flaky results caused by GUI-related hiccups.
Headless browser testing has become a core part of modern CI/CD pipelines, especially in agile teams pushing code weekly or even daily. This setup gives you a fast, lightweight testing layer that just works.
Web scraping
Most businesses today know the data they need lives online. But getting to it is the hard part.
You might be staring at the perfect product listing, pricing grid, or legal filing, only to realize there’s no API, no export button, and no structured data. That’s where web scraping enters the picture.
And to do it right, you often need a headless browser.
Why? Because modern sites use JavaScript-heavy frameworks. That data you want probably doesn’t exist in the raw HTML. It shows up only after the page fully renders. And traditional scraping tools can’t see it.
But headless browser testing tools like Puppeteer can. In headless mode, these tools load the page like a user would, wait for the data to appear, and then extract it. This makes it possible to:
- Train AI models on real, current data from public sources
- Run competitor monitoring campaigns without raising flags
- Collect market intelligence that’s fresh, relevant, and custom-tailored
Whether you’re working with structured listings or scraping dynamic content behind login walls, a headless web browser gives you the realism and control you need without any of the visual overhead.
Performance monitoring
If you're a technical SEO specialist or just someone who wants to truly understand your site’s performance, one of the most effective ways to do it is by running your own tests. Not just looking at frontend load times, but digging into real performance metrics using headless tools like Puppeteer or Playwright.
Say you want to test things like:
- Time to first byte (server speed)
- First contentful paint (when something actually shows up)
- Time to interactive (when the page can respond to clicks)
- Largest contentful paint (how long your biggest image takes)
- Third-party script impact (ads, analytics, chat widgets)
- Core Web Vitals overall
You don’t need a GUI to test these. You can spin up headless Chrome with tools like Puppeteer.
Headless browsers allow you to load the full page in headless mode, including all the JavaScript, third-party assets, and dynamic content, just as a real user would experience it, without ever launching a visible browser window. That means you can benchmark your site’s performance with precision while keeping the process lightweight and fully automated.
Screenshot generation
Need to take a screenshot? If it’s a one-off, manual tools work fine. But when you need to take hundreds across multiple devices or regions and do it automatically, there’s no better solution than a headless browser.
Headless browser tools like Puppeteer and Playwright let you script everything: when to open a page, what to wait for, what part to capture, and where to save the image - all in headless mode, without ever launching a visual browser.
That’s why dev teams use headless browser setups to:
- Capture full-page screenshots across mobile, tablet, and desktop viewports
- Monitor how their landing pages render around the world using proxies
- Archive product pages as part of compliance, audits, or content verification
- Auto-generate screenshots after every code push
Unlike GUI tools, headless browsers give you pixel-perfect snapshots of what a real user would see, even if the page is JavaScript-heavy or slow to load. You can wait for specific DOM elements to appear, strip out banners or modals, or scroll down before capturing.
One thing all these headless browser use cases have in common is that they involve sending lots of automated requests. And if you send too many requests from the same IP, websites notice. You’ll start getting CAPTCHAs, blocks, or worse, bans.
That’s why a rotating residential proxy pool matters. It lets you assign a different IP address to each batch of requests, making your headless browser traffic look more human and far less predictable. If you also need to manage proxies on the go, our Android proxy server app lets you switch proxies with a single tap from your phone.
This is essential if you’re running headless browser jobs that hit hundreds or thousands of pages in a short window. A smart proxy setup keeps things smooth, fast, and under the radar.
Best headless browser tools
Before we compare the tools, let us separate the browser from the controller.
A headless browser runs in headless mode without a visible UI, while Playwright, Puppeteer, Selenium, and similar browser automation tools control browsers in headless or headed mode.
Let’s look at the most reliable options developers, QA testers, and automation engineers use.
Puppeteer
What it is
Puppeteer is a Node.js browser automation library that lets you control Chrome, Chromium, or Firefox with JavaScript or TypeScript.
Best for
Chrome-first browser automation in JavaScript or TypeScript projects. It is a strong fit when you need direct control over page behavior, network activity, screenshots, or PDF generation.
Strengths
- Handles JavaScript-rendered pages well
- Lets you intercept and control browser requests
- Gives you close control over Chrome-based workflows
- Can switch between headless and headed mode for easier debugging
- Supports screenshots and PDF generation
Weaknesses
- Puppeteer is less natural for Python, Java, or C# workflows
- Not ideal for Safari-like WebKit testing
When to choose it
The page is useless before JavaScript runs.
This happens when working with product grids, dashboards, search results, and pages that hydrate after load. Use Puppeteer because it can wait for the rendered content before extracting anything.
Your team already works in Node.js.
If you wrote the rest of your scraper in JavaScript or TypeScript, Puppeteer keeps the automation layer in the same stack.
Chrome is the browser you care about most.
Go for Puppeteer when your workflow is centered around Chrome because it gives you a direct way to control page behavior, network activity, and output.
You need to trim what the browser loads.
Puppeteer can listen to each network request and block anything that consumes bandwidth without helping the task at hand.
The output needs to be visual.
This headless browser also supports screenshots and PDF generation by default, making it a good choice when you need visual output.
Playwright
What it is
Playwright is a browser automation framework that lets you control Chromium, Firefox, and WebKit in headless or headed mode with JavaScript, TypeScript, Python, Java, or .NET/C#.
Best for
Playwright is best when you need reliable cross-browser testing, browser automation across different programming languages, and session-heavy workflows.
Strengths
- It automatically waits for elements to load before interacting with them
- Thanks to its browser contexts feature, Playwright lets you separate cookies, storage, and sessions without launching a new browser every time
- Playwright offers several debugging tools, like traces, screenshots, videos, and reports for testing
Weaknesses
- It can be overkill for simple scraping jobs
When to choose it
Your team uses different programming languages.
Playwright supports JavaScript, TypeScript, Python, Java, and C# workflows.
You are building automated tests in CI/CD.
Playwright has testing features around repeatable browser testing, which is perfect for teams checking user flows after each deploy.
You need session separation.
Browser contexts make it easier to keep cookies, storage, and sessions separate without launching a full new browser every time.
You are scraping or testing dynamic pages.
Playwright can wait for elements, navigations, and network activity more reliably than basic sleep-based scripts.
You need proxy-backed geo-testing.
This tool is great when you want to test how pages render from different regions while keeping browser sessions organized.
Selenium
What it is
Selenium is a browser automation framework that controls real browsers through WebDriver. WebDriver is the standard interface that lets code send commands to a browser, such as opening a page, clicking an element, filling a form, or checking what appears on screen.
Best for
Selenium is best if you already rely on WebDriver because it gives you a standard way to control browsers across different languages, machines, and browser environments. That makes it useful for older QA systems, distributed testing setups, and browser coverage requirements that go beyond a simple Chrome workflow.
Strengths
- Selenium fits legacy and enterprise QA stacks
- Selenium works across Java, Python, C#, JavaScript, Ruby, and Kotlin
- Uses the standardized WebDriver model
Weaknesses
- It is heavier than most headless browser setups
- Network inspection is less natural than in Puppeteer or Playwright
When to choose it
Your company already has Selenium tests.
It lets you keep working within the automation setup your team already uses.
Your QA team works in Java, Python, C#, Ruby, or mixed stacks.
Selenium supports several programming languages, so different teams can use it without switching stacks.
You need to run tests across remote browser machines.
Selenium Grid can distribute browser tests across different machines and environments.
You need WebDriver compatibility.
Selenium is built around WebDriver, the standard interface for controlling browsers through code.
You are maintaining enterprise browser automation rather than building a small scraper from scratch.
Selenium fits long-running QA systems better than lightweight scraper-only workflows.
HtmlUnit
What it is
HtmlUnit is a Java-based browser simulator that can load pages, submit forms, manage cookies, and run some JavaScript without opening a real browser. The key point is that it does not render pages like Chrome, Firefox, or WebKit, which is why it shines at some tasks and falls short at others.
Best for
This simulator works when the page you are interested in is simple enough that you do not need real browser rendering.
Strengths
- It is built for Java programs
- Built for simple automation, like opening a page, finding a form, and filling in inputs
- It can handle some JavaScript-driven models
Weaknesses
- It is not a real rendered browser
- It can struggle with modern JavaScript-heavy apps
- Not ideal for heavy web scraping
- No visual output by default
When to choose it
You are working with static pages.
If the data is in the HTML, HtmlUnit can fetch the page and extract what you need without launching Chrome or another full browser.
You are testing simple forms in a Java project.
HtmlUnit can load the page, fill fields, submit the form, and check the result inside the same Java stack.
You need fast smoke checks.
If you just need to verify a page loads, a link works, or a form responds, HtmlUnit is faster than spinning up a full headless browser.
You are crawling internal pages.
For simple admin panels, documentation pages, or server-rendered internal tools, HtmlUnit can navigate through links and extract content without visual rendering.
How to implement headless browsing
Enough theory. It’s time to get your hands dirty. If you’re serious about headless browsing, the next step is knowing which tool fits your workflow.
Want full control over Chrome and simple scripting? We’ll walk you through Puppeteer. Need multi-browser flexibility for headless testing across Chrome, Firefox, and Safari? We’ll show you how Playwright handles it cleanly. Prefer a battle-tested tool that supports lots of languages and complex headless automation? We’ve got Selenium lined up too.
Setting up Puppeteer
Follow these simple steps to configure Puppeteer and run a basic script:
Step 1: Install Puppeteer
You don’t have to manually install Chrome to start headless browsing. Puppeteer already bundles a compatible version of Chromium, the open-source engine behind Chrome. All you need to do is open your terminal and run one command. Here it is:
npm install puppeteer
If PowerShell or your terminal throws an error saying 'npm' is not recognized, don’t worry, it just means you need Node.js installed first. Download Node.js from the official website, install it, and try the command again.
Once Node and npm are installed, you’ll be ready to spin up Chrome in headless mode for web scraping, automated scripts, or clean CI/CD pipeline runs.
Step 2: Create a basic script
We'll start small and practical: launch Chrome in headless mode, visit the Wikipedia homepage, and print the page title. It’s the first real-world taste of headless automation and headless browsing.
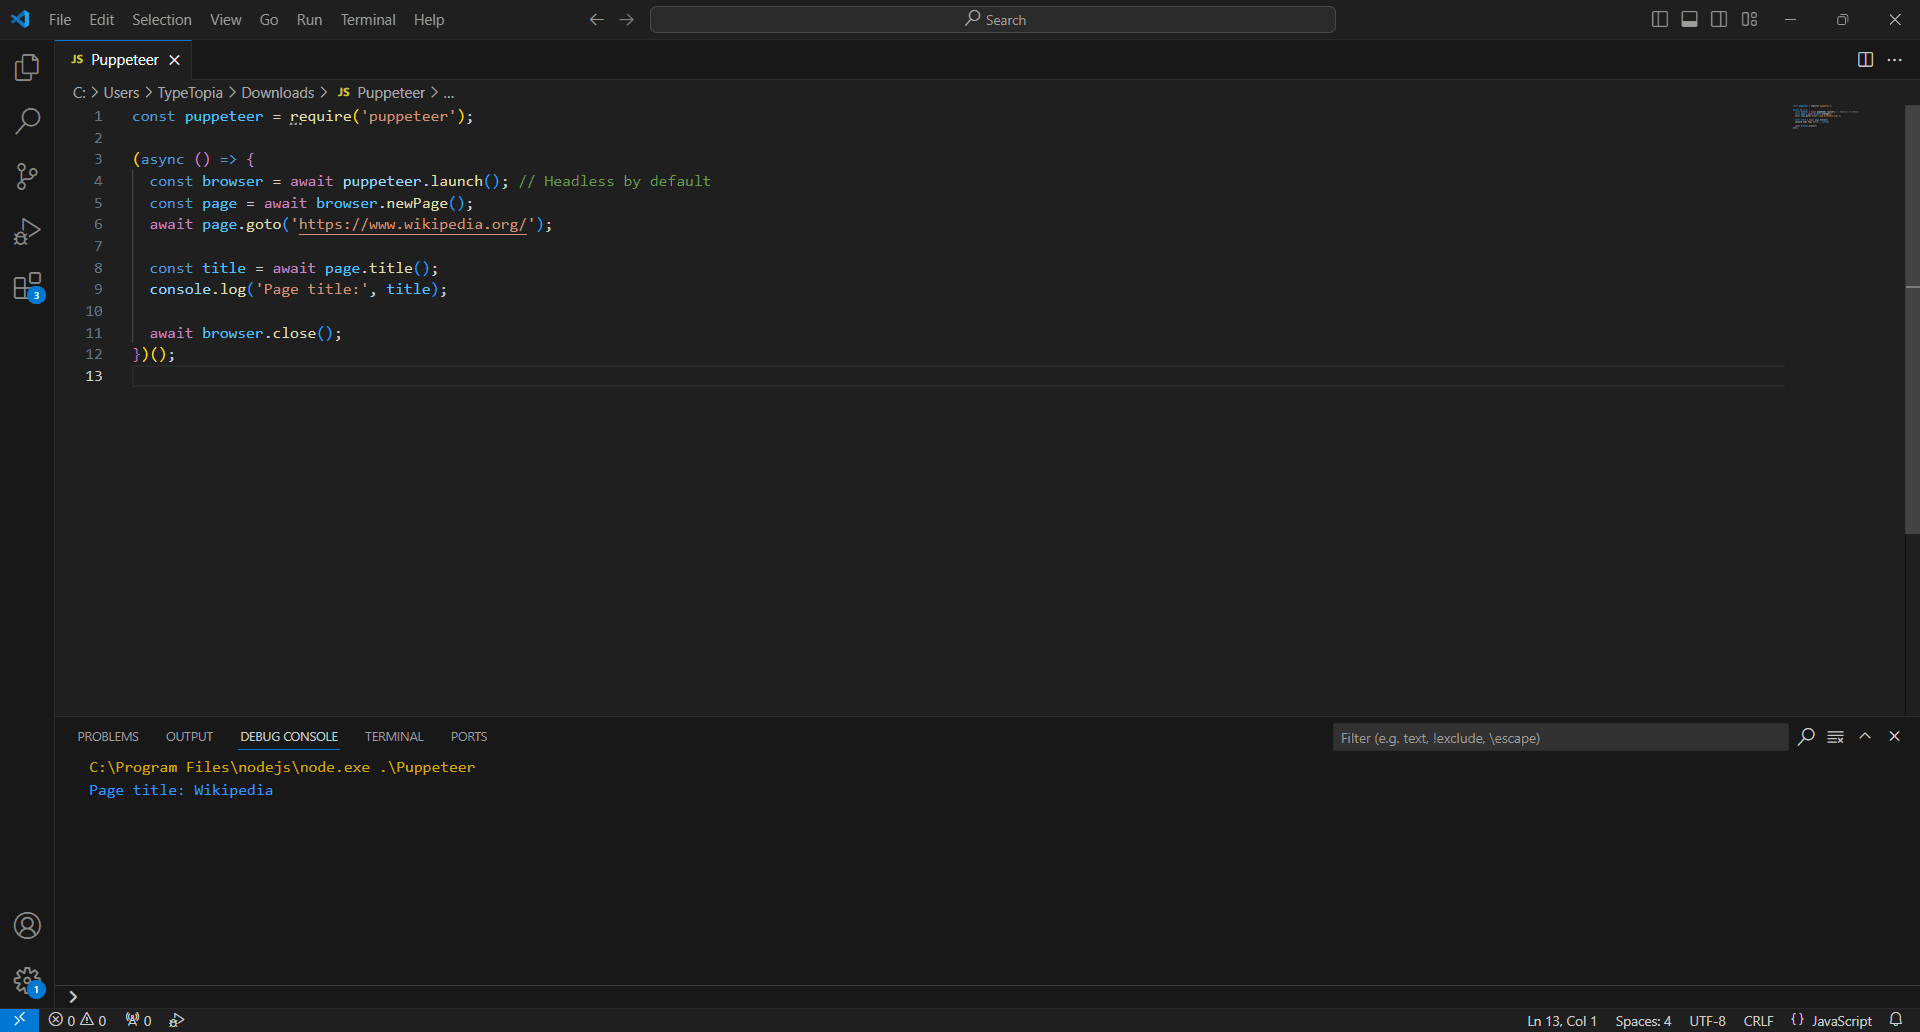
Open up your favorite code editor. We’re rolling with Visual Studio Code for this, and create a new JavaScript file. Then run the following code:
const puppeteer = require('puppeteer');

(async () => {
    const browser = await puppeteer.launch(); // Headless by default

    const page = await browser.newPage();

    await page.goto('https://www.wikipedia.org/');

    const title = await page.title();

    console.log('Page title:', title);

    await browser.close();

})();
And just like that, you’ve built the foundation for real automation. From here, you can start steering the script anywhere you need it to go.
Setting up Playwright
Now that you’ve seen how easy it is to work with Puppeteer, let’s raise the bar. Playwright gives you even more control across browsers, and setting it up is just as simple. Here’s how to do it:
Step 1: Install Playwright
Open your terminal and run this command:
npm install -D @playwright/test
Playwright is a Node.js library, which means it runs inside a Node.js environment. If Node.js isn't installed on your machine, the npm install -D @playwright/test command won’t work because npm (Node Package Manager) comes bundled with Node.js.
You can grab it easily at nodejs.org. Once Node and npm are set up, the Playwright installation will work smoothly.
Step 2: Install browsers
Because Playwright controls three major engines, Chromium, Firefox, and WebKit, it lets you install browsers separately, but in one command. It's easy. Just pop this into your terminal:
npx playwright install
Step 3: Create your first script
Let’s keep things simple for your first Playwright script, just like we did with Puppeteer. We’ll open a headless browser, visit Wikipedia, and print out the page title.
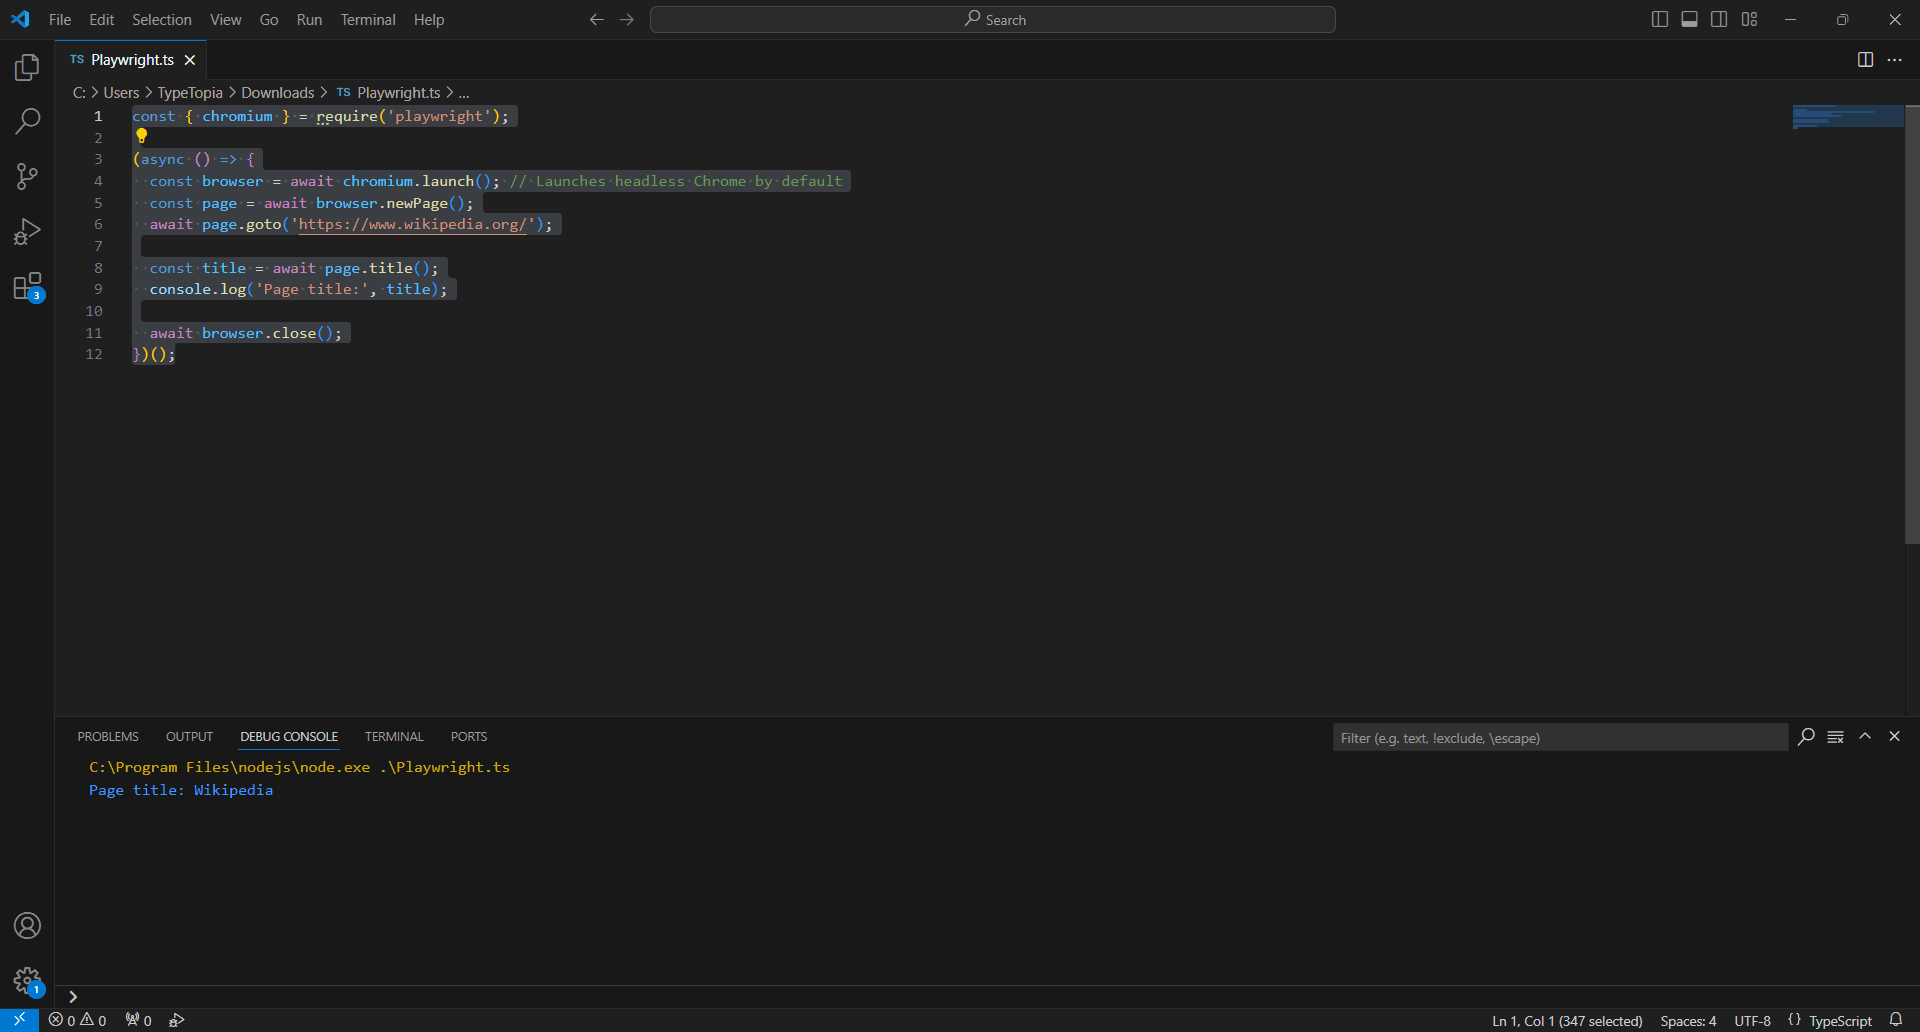
Open your favorite code editor (Visual Studio Code is a great option), create a new JavaScript file, and paste this in:
const { chromium } = require('playwright');

(async () => {
     const browser = await chromium.launch(); // Launches headless Chrome by default

     const page = await browser.newPage();
     await page.goto('https://www.wikipedia.org/');

     const title = await page.title();

     console.log('Page title:', title);

     await browser.close();
})();
With the groundwork in place, you can now customize the script to fit your workflow and use case.
Setting up Selenium
While it's not always the lightest option, Selenium is still a trusted choice when your headless testing or automation needs to span multiple browsers, environments, and programming languages.
Here’s the straightforward way to get Selenium ready for headless browser testing:
Step 1: Install Selenium
The process of installing Selenium shifts depending on the language you're coding in. Java, Python, C#, and Ruby all have slightly different paths. For simplicity and consistency, we’ll stick with JavaScript.
It keeps things straightforward and ties in perfectly with the examples we’re building here. To install Selenium for JavaScript, pop this into your terminal:
npm install selenium-webdriver
Once that’s done, your Selenium toolkit will be ready to power headless browser testing across real websites.
Step 2: Download a browser driver
Here’s something Selenium doesn’t do: it won’t hand you a browser engine out of the box.
That’s a major contrast with tools like Puppeteer or Playwright, which bundle Chromium for you. With Selenium, you need to manually download a driver that matches your installed browser version.
Since we’re using Chrome for our automation setup, we’ll go with ChromeDriver.
So head over to the official ChromeDriver download page and pick a version that matches your system’s Chrome install. If you’re unsure which version of Chrome you’re running, just open Chrome and type:
chrome://settings/help
After downloading the right driver, unzip the folder. You’ll see a file called chromedriver.exe.
You don’t need to add it to your system PATH unless you plan on reusing it often across many projects. For simplicity, just drop the chromedriver.exe file into the same folder where your Selenium test script lives. That way, your code can find and launch it without any extra setup.
It’s a small move, but it avoids versioning headaches and keeps your headless browser testing flow smooth.
Step 3: Point Selenium to the ChromeDriver executable
Let’s tie it all together. Once you’ve installed Selenium and downloaded ChromeDriver, you’re ready to test.
Here’s a simple script to run headless Chrome using Selenium in JavaScript:
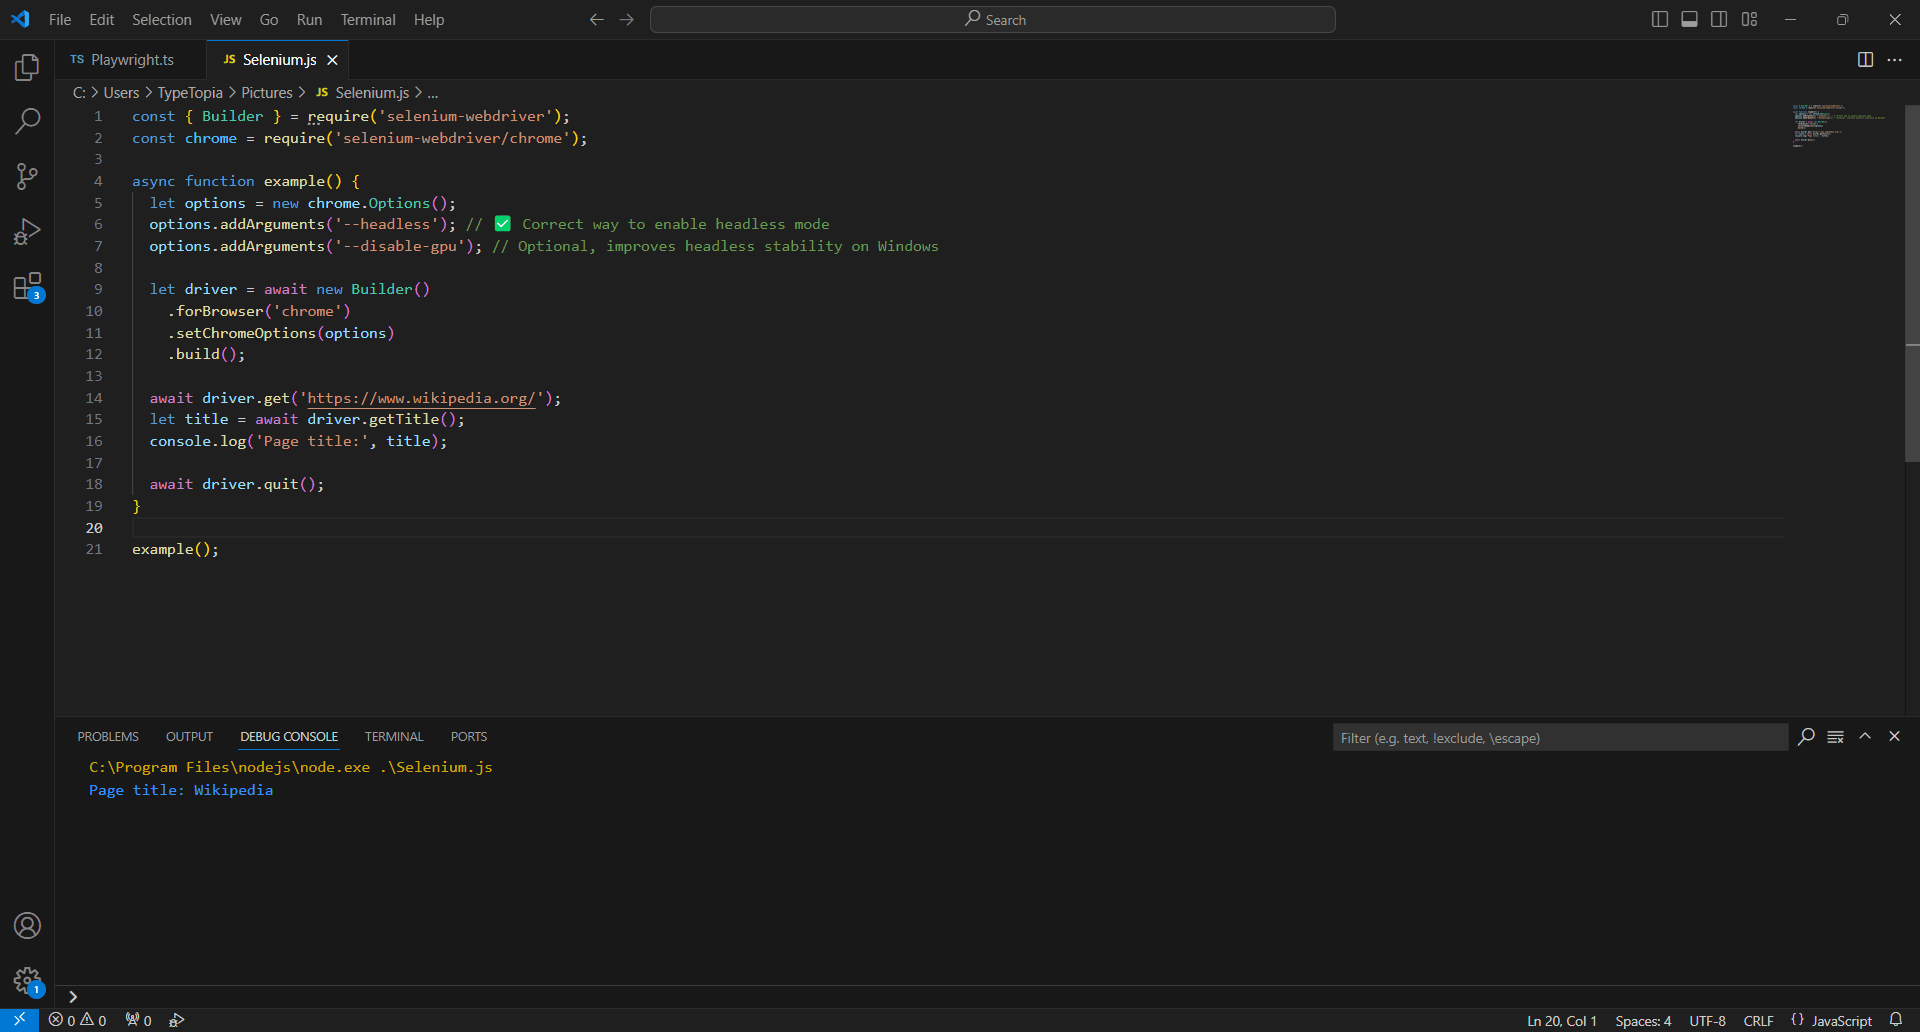
const { Builder } = require('selenium-webdriver');
const chrome = require('selenium-webdriver/chrome');

async function example() {
  let options = new chrome.Options();
  options.addArguments('--headless'); // Correct way to enable headless mode
  options.addArguments('--disable-gpu'); // Optional, improves headless stability on Windows

  let driver = await new Builder()
    .forBrowser('chrome')
    .setChromeOptions(options)
    .build();

  await driver.get('https://www.wikipedia.org/');
  let title = await driver.getTitle();
  console.log('Page title:', title);

  await driver.quit();
}

expample();
Best headless browser practices
Hidden pitfalls can derail your headless browsing workflow fast. These best practices will help you sidestep common traps and get the most out of your headless browser library.
Handle JavaScript rendering carefully
If you’ve ever used a web crawler or scraper on a page and gotten… well, nothing, just a bare shell with no data, that’s not your script misfiring. That’s JavaScript.
Modern websites don’t serve content all at once anymore. What loads first is often just a scaffold. The real stuff comes in after the fact, triggered by JavaScript. So if your headless browser dives in too early, you’ll miss the point entirely.
Here's how you can avoid this problem, depending on the browser you use:
Puppeteer
Puppeteer doesn’t “know” when a page is done rendering your data. It knows when the page has technically loaded (load, domcontentloaded), but not when that async JavaScript has finished painting the stuff you actually care about.
If you’re doing browser automation for scraping, testing, or CI/CD workflows, that gap matters.
Luckily, Puppeteer gives you full control over that wait. You can use waitForSelector() to pause until a specific element appears, or waitForNetworkIdle to sit tight until the browser stops making requests. There’s even waitForTimeout() if you need a custom delay.
It’s not “smart” waiting, but it’s precise. You decide when the page is ready, and Puppeteer listens.
Playwright
Unlike Puppeteer, which makes you define what to wait for, Playwright bakes that logic in by default. It doesn’t just fire off your script and hope the page is ready. It pauses until the DOM is stable or a key element shows up. Unless you manually override it, Playwright is already doing the smart waiting for you.
Selenium
With Selenium, timing becomes your responsibility. Unlike Playwright, which pauses for DOM stability, or Puppeteer, where you can slot in clean, readable waits like waitForSelector(), Selenium expects you to know when the content appears and forces you to build your own waiting logic around it.
This often means importing separate wait libraries, defining global strategies, or cluttering your script with try/catch blocks to avoid brittle failures. None of it is intuitive, and if you’re doing browser automation at scale, it’s easy to miss a beat.
Rotate proxies to avoid detection
Even the best headless browser library can’t outrun an IP ban.
The moment you start using browser automation at scale, especially for web scraping or automated scripts, you’re putting pressure on a site’s defenses. And most of them are ready. Flood them with requests from a single IP, and you’ll trigger rate limits, get flagged as a bot, or worse, blacklisted completely. If your goal is multi-account management or fingerprint evasion rather than pure automation, an anti-detect browser may serve you better — see our roundup of the best anti-detect browsers to compare your options.
Proxies solve this neatly. With a residential rotating proxies pool, your headless browsing doesn’t stick out. Every few requests, the IP changes. From the outside, it looks like traffic from a normal mix of users, not a bot farm.
For quick proxy management in Chrome without touching system settings, the MarsProxies Chrome extension lets you switch proxies with a single click.
Let's look at how you can configure proxies across the different tools we've talked about:
Puppeteer
Setting up a proxy in Puppeteer is simple. You just launch headless Chrome with a proxy server argument, then handle the credentials using page.authenticate().
Here is the code:
const puppeteer = require('puppeteer');

(async () => {
  const browser = await puppeteer.launch({
    headless: true,
    args: ['--proxy-server=http://ultra.marsproxies.com:44443']
  });

  const page = await browser.newPage();
  await page.authenticate({
    username: 'mr45184psO8',
    password: 'MKRYlpZgSa_country-us_city-miami_session-iuzoneff_lifetime-30m'
  });

  await page.goto('https://httpbin.org/ip');
  console.log(await page.content());
  await browser.close();
})();
Use 'http://' even for HTTPS sites. Puppeteer handles SSL behind the scenes. And make sure to call page.authenticate() immediately after newPage() to avoid 407 errors.
Playwright
Unlike Puppeteer, which binds the proxy to the entire browser instance, Playwright lets you define proxy settings per browser or even per context. That’s a win if you're juggling multiple proxy identities in a single headless browser session.
Here’s how it looks in action:
const { chromium } = require('playwright');
(async () => {
  const browser = await chromium.launch({
    proxy: {
      server: 'http://ultra.marsproxies.com:44443',
      username: 'mr45184psO8',
      password: 'MKRYlpZgSa_country-us_city-miami_session-iuzoneff_lifetime-30m'
    }
  });
  const page = await browser.newPage();
  await page.goto('https://httpbin.org/ip');
  console.log(await page.content());
  await browser.close();
})();
Selenium
Selenium doesn’t make proxy authentication easy. While it handles basic proxy routing through Chrome flags just fine, it completely skips support for proxies that require a username and password.
Here’s the workaround: whitelist your IP at the proxy level. Once that’s done, you can drop the credentials and pass the proxy address straight into your headless Chrome launch. Like this:
const { Builder } = require('selenium-webdriver');
const chrome = require('selenium-webdriver/chrome');
(async () => {
  const proxy = 'http://ultra.marsproxies.com:44443';

  const options = new chrome.Options();

  options.addArguments(`--proxy-server=${proxy}`);
  const driver = await new Builder()
    .forBrowser('chrome')
    .setChromeOptions(options)
    .build();
  await driver.get('https://httpbin.org/ip');

  console.log(await driver.getPageSource());
  await driver.quit();
})();
Manage timeouts and delays
If your web scraping scripts act too quickly when clicking, scrolling, and submitting at machine speed, they’ll stick out like a sore thumb. That’s why adding short, natural-looking delays is a smart move.
Here's how you can manage delays and timeouts in conjunction with proxies to avoid detection:
Puppeteer
This code gives you a glimpse on how to implement timeouts in conjunction with proxies:
const puppeteer = require('puppeteer');

// Helper function for delay
function delay(time) {
  return new Promise(function(resolve) {
    setTimeout(resolve, time);
  });
}
(async () => {
  const browser = await puppeteer.launch({
    headless: true,
    args: ['--proxy-server=http://ultra.marsproxies.com:44443']
  });
  const page = await browser.newPage();

  // Authenticate to the proxy server
  await page.authenticate({
    username: 'mr45184psO8',
    password: 'MKRYlpZgSa_country-us_city-miami_session-iuzoneff_lifetime-30m'
  });

  // Go to the target page
  await page.goto('https://httpbin.org/ip', {
    waitUntil: 'networkidle2', // Wait until all network activity stops
    timeout: 30000             // 30-second timeout for loading
  });
  // Introduce a delay to mimic human-like behavior
  await delay(2000); // Wait 2 seconds
  // Extract and print page content
  const content = await page.content();

  console.log(content);

  await browser.close();
})();
The timeout option inside page.goto() ensures the script doesn’t wait forever. If the page doesn’t load within 30 seconds, Puppeteer exits with an error.
The waitUntil: 'networkidle2' condition tells Puppeteer to wait until the page has stopped making network requests, which is especially useful for dynamic sites.
Then, the custom delay() function adds a 2-second pause before interacting with the content. This pause mimics natural user behavior, which can help you avoid detection during web scraping or headless browser testing.
Playwright
Use this script to implement timeouts with Playwright:
const { chromium } = require('playwright');

// Helper delay function
function delay(time) {
  return new Promise(resolve => setTimeout(resolve, time));
}
(async () => {
  const browser = await chromium.launch({
    proxy: {
      server: 'http://ultra.marsproxies.com:44443',
      username: 'mr45184psO8',
      password: 'MKRYlpZgSa_country-us_city-miami_session-iuzoneff_lifetime-30m'
    }
  });
  const context = await browser.newContext();
  const page = await context.newPage();

  // Set navigation timeout to 30 seconds
  page.setDefaultNavigationTimeout(30000);
  // Go to the target page
  await page.goto('https://httpbin.org/ip', {
    waitUntil: 'networkidle' // Wait for no ongoing network requests
  });
  // Introduce a short delay to mimic human behavior
  await delay(2000); // 2-second pause
  const content = await page.content();

  console.log(content);
  await browser.close();
})();
We combine proxy authentication, timeout settings, and delay injection to control the pace and behavior of browser automation. The setDefaultNavigationTimeout(30000) line ensures that any navigation (like goto) that takes longer than 30 seconds will be aborted.
This protects your script from hanging on slow pages. The waitUntil: 'networkidle' condition waits until there are no active network connections, making it reliable for pages that load content asynchronously.
Finally, the delay() function introduces a 2-second pause to simulate real user pauses between actions. This kind of pacing is especially helpful when doing web scraping or automated scripts on sites with bot protection, as it makes your traffic look more natural.
Selenium
Selenium doesn’t handle timeouts and waits as gracefully as headless browser libraries like Puppeteer or Playwright. In Selenium, you have to manage multiple types of timeouts like pageLoad, script, and implicit separately, and they don’t always behave predictably.
Here is how the script looks in JavaScript:
const { Builder, By, until } = require('selenium-webdriver');
const chrome = require('selenium-webdriver/chrome');

// Helper delay function
function delay(time) {
  return new Promise(resolve => setTimeout(resolve, time));
}

(async () => {
  const proxy = 'http://ultra.marsproxies.com:44443';
  const options = new chrome.Options();

  options.addArguments(`--proxy-server=${proxy}`);
  const driver = await new Builder()
    .forBrowser('chrome')
    .setChromeOptions(options)
    .build();
  try {
    // Set a 30-second timeout for page loads
    await driver.manage().setTimeouts({ pageLoad: 30000 });
    // Navigate to the page
    await driver.get('https://httpbin.org/ip');
    // Optional: Wait for a specific element to appear (if needed)
    await driver.wait(until.elementLocated(By.css('body')), 10000);
    // Wait 2 seconds to mimic human behavior
    await delay(2000);

    const content = await driver.getPageSource();
    console.log(content);
  } finally {
    await driver.quit();
  }
})();
This Selenium script uses a headless Chrome browser routed through a proxy server and introduces both a page load timeout and an artificial delay to mimic human behavior. It starts by configuring the proxy via Chrome options, then sets a 30-second timeout to ensure the page doesn’t hang indefinitely.
Conclusion
If you’ve made it all the way here, hats off, you now speak fluent headless. You’ve walked through how a headless web browser works, how tools like Puppeteer and Playwright compare, and what it takes to stay undetected (using residential proxies) when bots are doing the heavy lifting.
Also, don't forget to check our IXBrowser integration guide too.
You’ve seen the good (speed), the bad (authentication headaches), and the ugly (Selenium’s timing quirks). But now? Now you know better. May your scripts run green on the first try, your proxies stay unbanned, and your DOM waits never timeout. High five, coder. You’ve got this.
What is headless browser testing?
Headless browser testing means running automated browser tests without opening a visible browser window. Tools like Selenium, Puppeteer, and Playwright control browsers in headless mode to test page behavior in the background.
Is a headless browser faster than a regular browser?
The speed difference mostly depends on the page and the workflow. But yes, in theory, a headless browser is faster for automation because it doesn't need to display the full visual interface. It still loads resources, runs JavaScript, and processes dynamic content in the background.
Can headless browsers be detected?
Yes, websites can detect headless browsers, especially when automation tools such as Selenium, Puppeteer, or Playwright control them. Detection systems may look for subtle leaks in the browser environment, including properties like navigator.webdriver, missing or unusual browser features, canvas output, WebGL behavior, GPU details, IP reputation, request timing, and session patterns.
What is the best headless browser tool for testing?
The best headless browser for testing is Playwright because it solves more of the messy problems that show up in modern testing. Selenium and Puppeteer can open and control a headless browser. However, Playwright gives you a clean setup for dynamic pages, browser contexts, multiple browser engines, waiting behavior, and proxy-backed workflows.
When should you use a regular browser instead of headless mode?
Use a regular browser instead of headless mode when you need to see what is happening on the screen. This includes debugging failed scripts, checking layouts, spotting popups or CAPTCHAs, and testing visual behavior.